Showing posts with label madcowbeads. Show all posts

Monday, 17 June 2013

Flower Fair Free Jewellery Project - Bag Charm

Ahoy there!

How are you lovely people?

Time for my final Flower Fairy tutorial.  Inspired by the arrival of Summer and lovely flowers plus the delightful bronze findings from the Mad Cow Bead Barn.

These are my flower fairies. They are easy to make requiring only a few basic tools. Add some Fairy Chic to your handbag :)

Continuing our tutorials - today a Bag Charm!

You will need

Tools
1 Pair Chain Nose Pliers
1 Pair Round Nose Pliers

Findings
1 Bronze Tone Curb Chain
3 Bronze Tone Head Pins
1 35mm Bronze Key Clasp

Beads
2 Bronze Tone Butterfly Wing Beads
2 10mm Frosted Lucite Bellflower Beads
7 4mm Glass Beads
1 Bronze Flower Bead


In terms of skills you will simply need to know how to turn and wrap a headpin loop and to open and close jumprings. A fun easy project for a summer's day!
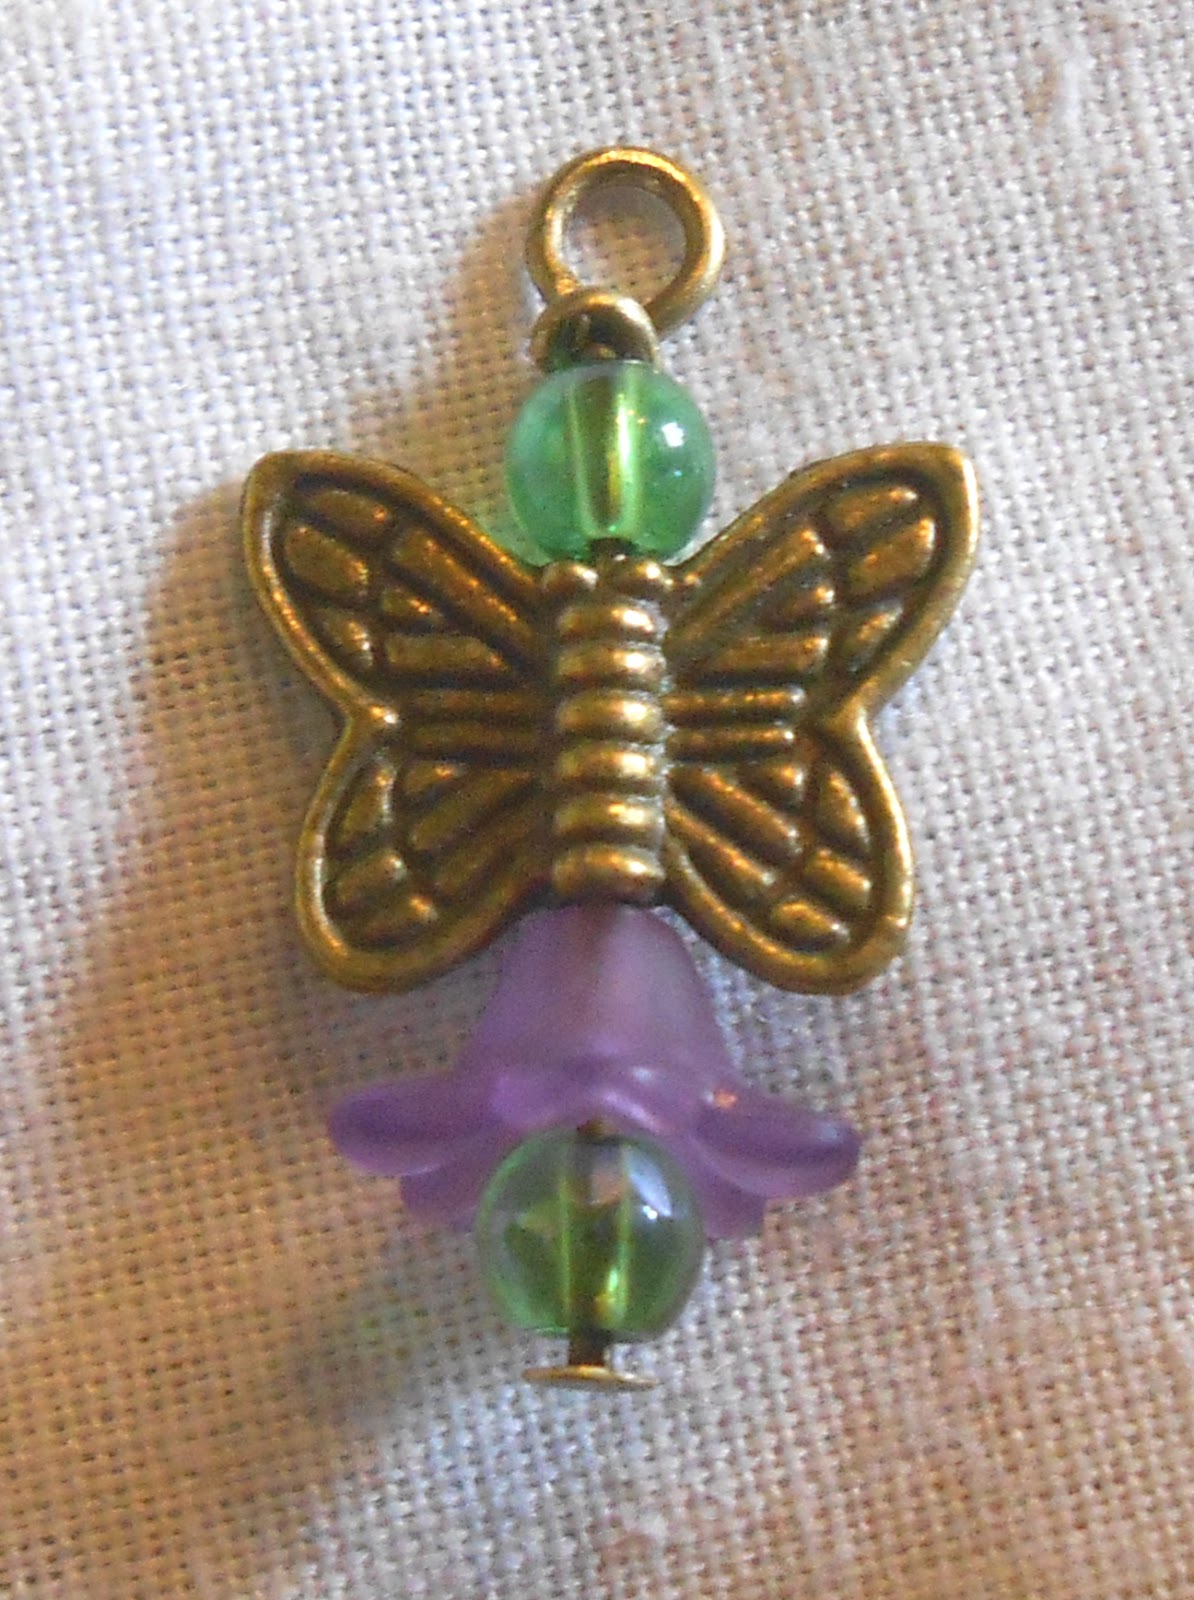


1)Create your charms by sliding beads onto the headpins and then turning a loop at the top.


 2) Separate your chain into shorter lengths by opening the links with pliers (like opening a jump ring) and then closing them.

3) Attach charms to chains in the same way.

4) Attach chain lengths to Clasp and voila!


All of the supplies used here are from Madcowbeads.com and we would love to see your flower fairy earrings on our facebook page https://www.facebook.com/madcowbead so please share your makes with us!

This was my last Flower Fairy project but I will be back with some exciting new tutorials soon!

Thanks for reading

Harry

Friday, 14 June 2013

Flower Fairy Free Jewellery Project - Charm Bracelet

Ahoy there!

How are you lovely people?

Time for the next Flower Fairy tutorial.  Inspired by the arrival of Summer and lovely flowers plus the delightful bronze findings from the Mad Cow Bead Barn.

These are my flower fairies. They are easy to make requiring only a few basic tools and are fabulous fun for a whimsical grown up or prancing fairy child!

Continuing our tutorials - today a Charm Bracelet!

You will need

Tools
1 Pair Chain Nose Pliers
1 Pair Round Nose Pliers

Findings
1 Bronze Tone Antique Charm Bracelet
8 Bronze Tone Jumprings
8 Bronze Tone Head Pins

Beads
5 Bronze Tone Butterfly Wing Beads
8 10mm Frosted Lucite Bellflower Beads
20 4mm Glass Beads


In terms of skills you will simply need to know how to turn and wrap a headpin loop and to open and close jumprings. A fun easy project for a summer's day!


 1) Gather your supplies! (www.madcowbeads.com is rather helpful for this!)


2) Assemble your fairy by simply stringing beads onto your head pins. I chose a lilac and green colour scheme to compliment the bronze. You can use whatever colours take your fancy!


 3) Hold the eyepin with your chain nose pliers and push the end over to create a right angle.


 4) Swap the chain nose for round nose pliers and finish forming the loop, using your swan nose pliars to pull the headpin tight and close the loop neatly.


 5) Shazaam! and just like that you have your first Flower Fairy Charm!

The next step is to make him/her some friends - in this instance  I made five for a balanced bracelet.


6) Also, you need to make three more charms - don't be afraid to experiment with your composition :)


7) I like to layout my charms before attaching them to the charm bracelet. This lets me play with the design.


8) The final stage is to attach your charms with jumprings and your bracelet is finished.

For a busier look you could add lots more fairies or even mix and match the colours.


 All of the supplies used here are from Madcowbeads.com and we would love to see your flower fairy makes on our facebook page https://www.facebook.com/madcowbead so please share your makes with us!

The next flower fairy make is a bag charm - coming very soon!

Thanks for reading

Harry


Wednesday, 12 June 2013

Flower Fairy Free Jewellery Projects - Earrings

Hello lovely folks!

I have a few moo-velous tutorials to share with you. Inspired by the arrival of Summer and lovely flowers plus the delightful bronze findings from the Mad Cow Bead Barn.

These are my flower fairies. They are easy to make requiring only a few basic tools and would look perfect with a floaty summer dress.

I am going to give these to you as a series of short tutorials. Today we are starting with Earrings.

You will need

Tools
1 Pair Chain Nose Pliers
1 Pair Round Nose Pliers

Findings
1 Pair  Sheperds Crook Ear Wires
2 Bronze Tone Jumprings
2 Bronze Tone Head Pins

Beads

2 Bronze Tone Butterfly Wing Beads
2 10mm Frosted Lucite Bellflower Beads
4 4mm Glass Beads


In terms of skills you will simply need to know how to turn and wrap a headpin loop and to open and close jumprings. A fun easy project for a summer's day!


1) Gather your supplies! ( www.madcowbeads.com is rather helpful for this! )


2) Assemble your fairy by simply stringing beads onto your head pins. I chose a lilac and green colour scheme to compliment the bronze. You can use whatever colours take your fancy!


3) Hold the eyepin with your chain nose pliers and push the end over to create a right angle.


4) Swap the chain nose for round nose pliers and finish forming the loop, using your swan nose pliars to pull the headpin tight and close the loop neatly.


5) Voila!


6) Make another fairy (sister, brother, mother, 2nd cousin, whatever you prefer!)


7) Attach your fairy charms to the earwires using a jumpring and your first flower fairy project is complete!


All of the supplies used here are from Madcowbeads.com and we would love to see your flower fairy earrings on our facebook page https://www.facebook.com/madcowbead so please share your makes with us!

The next flower fairy make is a charm bracelet - coming very soon!

Thanks for reading

Harry

Tuesday, 21 May 2013

Brilliant Bronze

Ahoy Folks, how are you?

I have been at the Steampunk Extravaganza in Frome this weekend. There were so many amazing costumes and lots of interesting stalls there.

It got me thinking about Steampunk in general. A visual subculture inspired by Victorian ingenuity with science fiction undertones. Lots of earthy colours like  brown, bronze and copper. Machinery and gears meshed together with beads and gems to create really unique pieces.

At the moment the Steampunk 'Look' is incredibly popular so I created a Pinterest Board on the subject - I just love sharing visual inspiration with you all.


Repinned from Deviant Art - SpaceInvader


I also had a look through the Bead Barn and found this lovely solid Antique Bronze Finish Chain.


It comes in two lengths (20 or 24inch), is finished with a lobster clasp, lead nickel and cadmium free, substantial links and comes in bulk packs. How ideal is that ?

Check them out over here at Mad Cow Beads

I am imagining lovely clustered charm necklaces or elegantly chained collars. I absolutely promise some tutorials will be uploaded soon - I have so many ideas!

What fabulous ideas do you folks have? Please feel free to comment and share them below :)

Harry


Sunday, 12 May 2013

Have you Herd?

Hello lovely folks, I hope this finds you well!

I would like to introduce myself.


I am Harry (Captain Purky) and I have been lucky enough to join the Mad Cow Herd (although I am technically a bull...)

Colour and design are huge passions of mine and over the next few months I am going to be bringing you lots of moo-velous things. Including exciting Pinterest boards, Youtube videos, blog posts, tutorials, hints and tips and lots more!

I am very much looking forward to meeting you all.

Have a brilliant Sunday

Harry x

Friday, 10 May 2013

Tangerine Dreams

Hello lovely people, how are you?

I have been doing some research from the Barn and discovered that this season the colour to be seen wearing is...... (drumroll!)

Orange!

Orange is such a vivid colour that can be paired successfully with many others. Use it in a synchronous colour scheme with red and yellow for a sumptuous feel.

(repinned from Armrita Singh)


 Place it in a contrasting colour scheme with black or blue to cause a fabulous splash.


(repinned from Etsy.com)


I got so over excited by orange I created a new board on Pinterest.

http://pinterest.com/madcowbeads/orange-colour-board/ 

Please go and check it out and see all the moo-velous pictures I have found.

I think we shall have an orangerie themed tutorial soon!

Inspired by these gorgeous colours? Come visit us at www.madcowbeads.com!

Have a lovely weekend everyone x


Thursday, 5 April 2012

Easter Bunny Bonanza


These very cute Easter bunnies are a fab way to use up orphan beads. They were designed for madcowbeads.com by Linda Jones from www.wirejewellery.co.uk

You can download the project sheet here

Have fun with the beaded bunnies this Easter!

Happy crafting
Georgie

Friday, 7 January 2011

New Book Shop

It's Friday evening, and despite the fact that I'm still working, I'm feeling kind of SMUG (In an endearing way - I hope!)

Firstly I finally got to grips with picking out bead and jewellery making titles for my Amazon links. I'm really pleased with the range, and I managed to fulfil a load of 'book requests' so that was a bonus.

Secondly, I then actually managed to integrate the newborn madcowbeads @ amazon bookshop into the madcowbeads website. Now I know to some this is a minor victory, in fact such a piffling victory that it should really be in the 'run of the mill' section, but to me, it deserves a small round of applause and a large slice of banana cake...

Hurrah hurrah!

Hope you like it!