Showing posts with label free craft instructions. Show all posts

Monday, 17 June 2013

Flower Fair Free Jewellery Project - Bag Charm

Ahoy there!

How are you lovely people?

Time for my final Flower Fairy tutorial.  Inspired by the arrival of Summer and lovely flowers plus the delightful bronze findings from the Mad Cow Bead Barn.

These are my flower fairies. They are easy to make requiring only a few basic tools. Add some Fairy Chic to your handbag :)

Continuing our tutorials - today a Bag Charm!

You will need

Tools
1 Pair Chain Nose Pliers
1 Pair Round Nose Pliers

Findings
1 Bronze Tone Curb Chain
3 Bronze Tone Head Pins
1 35mm Bronze Key Clasp

Beads
2 Bronze Tone Butterfly Wing Beads
2 10mm Frosted Lucite Bellflower Beads
7 4mm Glass Beads
1 Bronze Flower Bead


In terms of skills you will simply need to know how to turn and wrap a headpin loop and to open and close jumprings. A fun easy project for a summer's day!
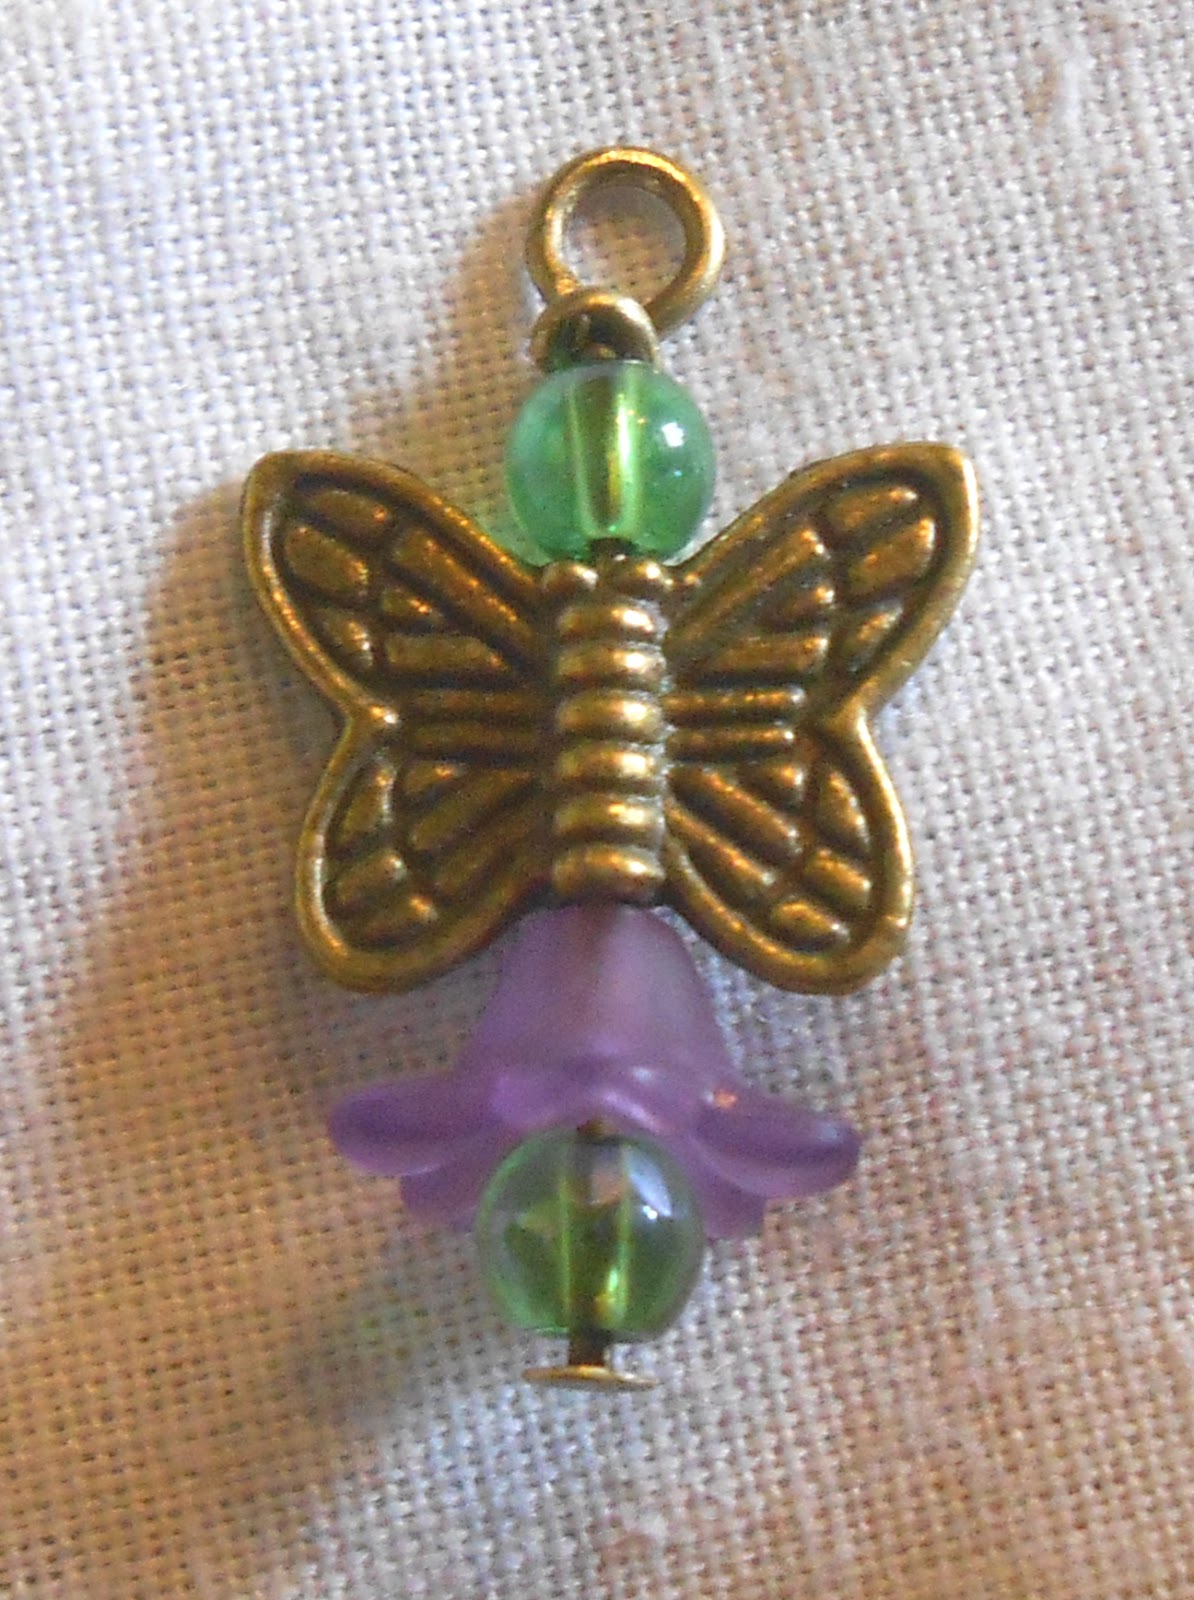


1)Create your charms by sliding beads onto the headpins and then turning a loop at the top.


 2) Separate your chain into shorter lengths by opening the links with pliers (like opening a jump ring) and then closing them.

3) Attach charms to chains in the same way.

4) Attach chain lengths to Clasp and voila!


All of the supplies used here are from Madcowbeads.com and we would love to see your flower fairy earrings on our facebook page https://www.facebook.com/madcowbead so please share your makes with us!

This was my last Flower Fairy project but I will be back with some exciting new tutorials soon!

Thanks for reading

Harry

Friday, 14 June 2013

Flower Fairy Free Jewellery Project - Charm Bracelet

Ahoy there!

How are you lovely people?

Time for the next Flower Fairy tutorial.  Inspired by the arrival of Summer and lovely flowers plus the delightful bronze findings from the Mad Cow Bead Barn.

These are my flower fairies. They are easy to make requiring only a few basic tools and are fabulous fun for a whimsical grown up or prancing fairy child!

Continuing our tutorials - today a Charm Bracelet!

You will need

Tools
1 Pair Chain Nose Pliers
1 Pair Round Nose Pliers

Findings
1 Bronze Tone Antique Charm Bracelet
8 Bronze Tone Jumprings
8 Bronze Tone Head Pins

Beads
5 Bronze Tone Butterfly Wing Beads
8 10mm Frosted Lucite Bellflower Beads
20 4mm Glass Beads


In terms of skills you will simply need to know how to turn and wrap a headpin loop and to open and close jumprings. A fun easy project for a summer's day!


 1) Gather your supplies! (www.madcowbeads.com is rather helpful for this!)


2) Assemble your fairy by simply stringing beads onto your head pins. I chose a lilac and green colour scheme to compliment the bronze. You can use whatever colours take your fancy!


 3) Hold the eyepin with your chain nose pliers and push the end over to create a right angle.


 4) Swap the chain nose for round nose pliers and finish forming the loop, using your swan nose pliars to pull the headpin tight and close the loop neatly.


 5) Shazaam! and just like that you have your first Flower Fairy Charm!

The next step is to make him/her some friends - in this instance  I made five for a balanced bracelet.


6) Also, you need to make three more charms - don't be afraid to experiment with your composition :)


7) I like to layout my charms before attaching them to the charm bracelet. This lets me play with the design.


8) The final stage is to attach your charms with jumprings and your bracelet is finished.

For a busier look you could add lots more fairies or even mix and match the colours.


 All of the supplies used here are from Madcowbeads.com and we would love to see your flower fairy makes on our facebook page https://www.facebook.com/madcowbead so please share your makes with us!

The next flower fairy make is a bag charm - coming very soon!

Thanks for reading

Harry


Wednesday, 12 June 2013

Flower Fairy Free Jewellery Projects - Earrings

Hello lovely folks!

I have a few moo-velous tutorials to share with you. Inspired by the arrival of Summer and lovely flowers plus the delightful bronze findings from the Mad Cow Bead Barn.

These are my flower fairies. They are easy to make requiring only a few basic tools and would look perfect with a floaty summer dress.

I am going to give these to you as a series of short tutorials. Today we are starting with Earrings.

You will need

Tools
1 Pair Chain Nose Pliers
1 Pair Round Nose Pliers

Findings
1 Pair  Sheperds Crook Ear Wires
2 Bronze Tone Jumprings
2 Bronze Tone Head Pins

Beads

2 Bronze Tone Butterfly Wing Beads
2 10mm Frosted Lucite Bellflower Beads
4 4mm Glass Beads


In terms of skills you will simply need to know how to turn and wrap a headpin loop and to open and close jumprings. A fun easy project for a summer's day!


1) Gather your supplies! ( www.madcowbeads.com is rather helpful for this! )


2) Assemble your fairy by simply stringing beads onto your head pins. I chose a lilac and green colour scheme to compliment the bronze. You can use whatever colours take your fancy!


3) Hold the eyepin with your chain nose pliers and push the end over to create a right angle.


4) Swap the chain nose for round nose pliers and finish forming the loop, using your swan nose pliars to pull the headpin tight and close the loop neatly.


5) Voila!


6) Make another fairy (sister, brother, mother, 2nd cousin, whatever you prefer!)


7) Attach your fairy charms to the earwires using a jumpring and your first flower fairy project is complete!


All of the supplies used here are from Madcowbeads.com and we would love to see your flower fairy earrings on our facebook page https://www.facebook.com/madcowbead so please share your makes with us!

The next flower fairy make is a charm bracelet - coming very soon!

Thanks for reading

Harry

Saturday, 28 January 2012

New Beady Projects for Instant Viewing!

Well, first I must apologise for my absence.. Sorry!

I've been putting 2012 beady plans together, and in the meantime - forgot to update this blog for 6 weeks. Oops! I hope I am forgiven.

As promised, we've assembled some great designers for our new free bead projects, and also a really convenient way for you to receive them. Gone are the days of emails with attachments, or trying to read instructions off the blog while you bead - you can now access the project instantly, and download, or print off at your leisure!

So.. with no further ado - here's the first project. Designed by the lovely Janet Sherret and called...

Heart of Ice necklace


This multi strand design is suitable for beginners / improvers and shows off a great technique to make any large focal bead work as a pendant! Using a mix of 4mm Czech fire polish beads, spring cone caps and a matte frosted focal heart. All materials are available from www.madcowbeads.com

This design would also look amazing with a 20mm round flat focal  and a mix of amber toned Czech beads.

You can view and print off this project here - 

This is the first in an ongoing series, drawing from the wealth of talent amongst our customers and friends. 
Please let me know what you think :-)